Hi there! It’s Deb Hanson from Crafting Connections, and I’m
going to share a free character traits lesson with you today. This lesson is based on one I did a few years ago for a formal observation. My principal at
the time loved the lesson… I hope you will, too! If you do decide that you want to try this activity with your students, be
sure to click on the following image. Everything you need for this
lesson is FREE! (Well, almost everything… you’ll have to provide your
own anchor chart paper and cups!)
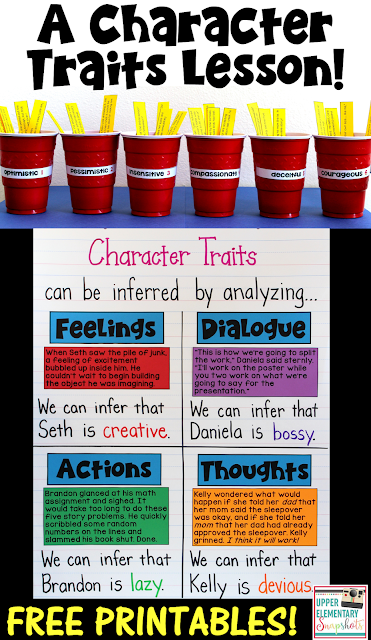
Part 1: Anchor Chart
I almost always start my ELA units with a PowerPoint presentation to introduce the topic. Therefore, the lesson I am describing would occur on Day
2 of our character traits study. Prior to class, I would create the base of my
character traits anchor chart. To start the lesson, I would use the anchor
chart to review how good readers analyze clues provided by the author in order
to infer character traits.
Next, I would read four short passages, and ask students to
determine whether the character trait clue provided by the author was an example
of a character’s feelings, actions, dialogue, or thoughts. After gluing (or taping)
the passage onto the anchor chart, students would infer a character trait for
the character described in each passage, and this sentence would be written on the anchor chart below each
passage.
Part 2: Sorting Activity
The next component of this lesson is my favorite part! I would
present six plastic cups by spreading them across a table or chalkboard tray. As you can see, the cups
have been labeled with various character traits. (I chose these particular
traits because many young adult chapter books include characters with these
traits, and I wanted to introduce my students to more advanced vocabulary.) I also
have the small strips of card stock printed and cut apart. These strips contain very
short reading passages.
After discussing the meanings of the words printed on the
cups, I would tell students to listen as I read aloud one of the strips. (I
would also use a document camera to display the strips so my students could follow along.) Students will need to
match the story to one of the character traits. To make sure everyone remains engaged, I would instruct students to display each answer by holding up fingers… 1 finger for optimistic, two fingers for pessimistic, three fingers for insensitive, etc. After inferring each character trait, I would ask the
students to determine whether the clue was an example of a character’s feelings,
actions, dialogue, or thoughts. Then, the strip would be dropped into the cup. Once
the strips have all been classified, your cups will look like this:


Part 3: Interactive Notebook
Finally, I would have my students add the following foldable
to their reading notebooks. Students can refer to the anchor chart as they label the foldable. After gluing the foldable in their notebook, students will use a book that they are currently reading or have
finished reading recently, and write under each flap how they were able to use that
label (dialogue, for example) to infer a character trait. They will write down
evidence from the text to support their answers. Providing the following sentence
frame may be necessary for some students, especially English Language
Learners: I inferred that (character’s
name) is (character trait) because (text evidence).
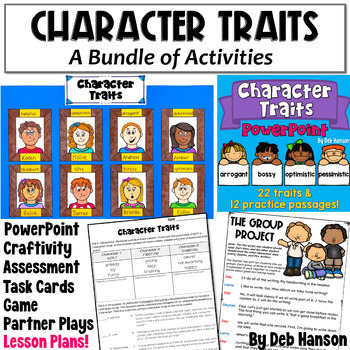
If you are looking for additional resources for teaching character
traits to your upper elementary students, feel free to check out the following
resources.
Thanks for stopping by today!


